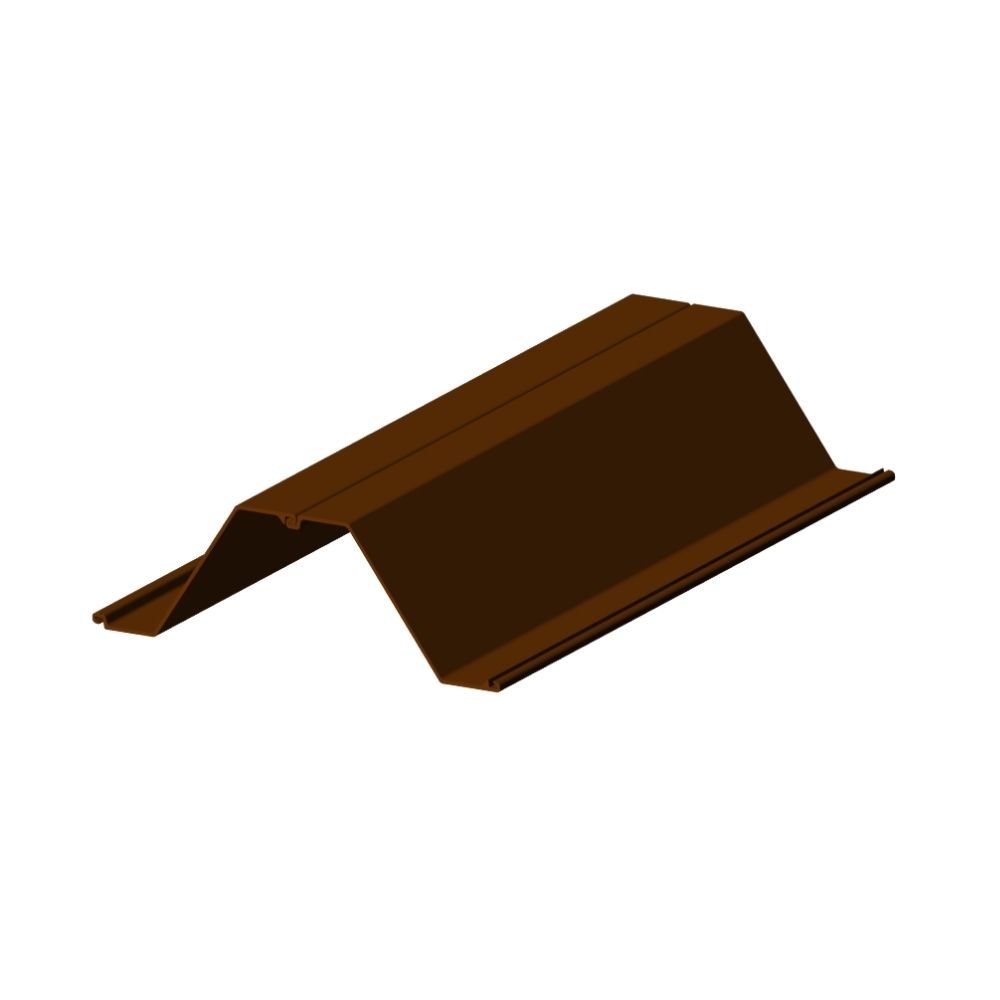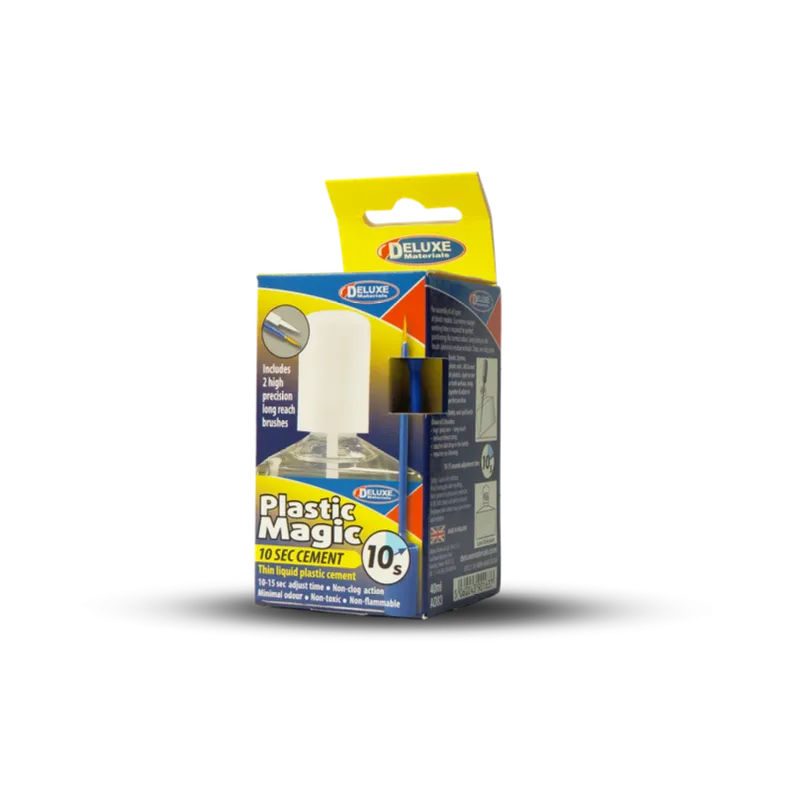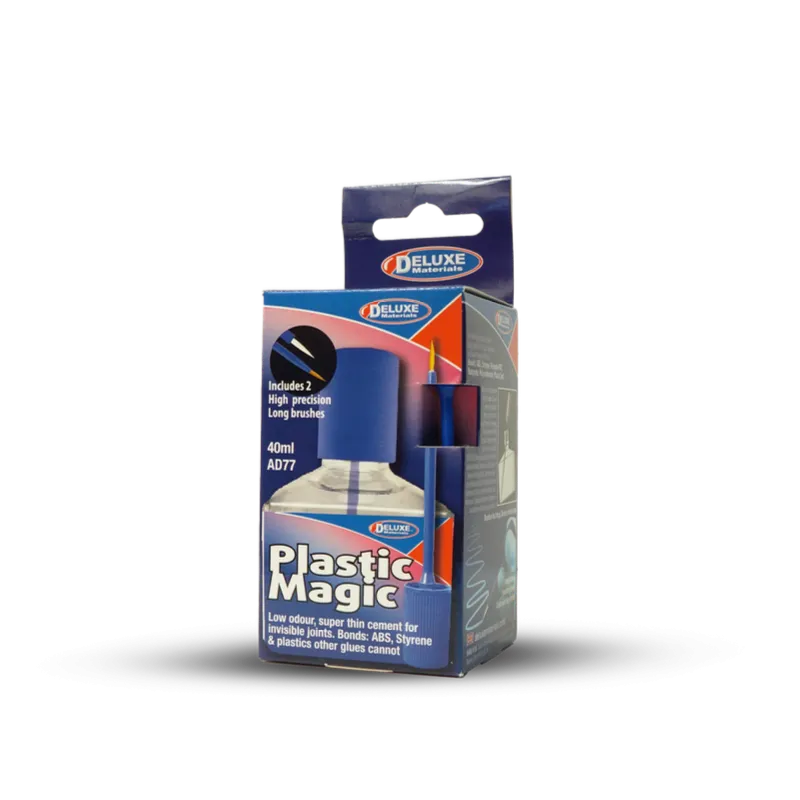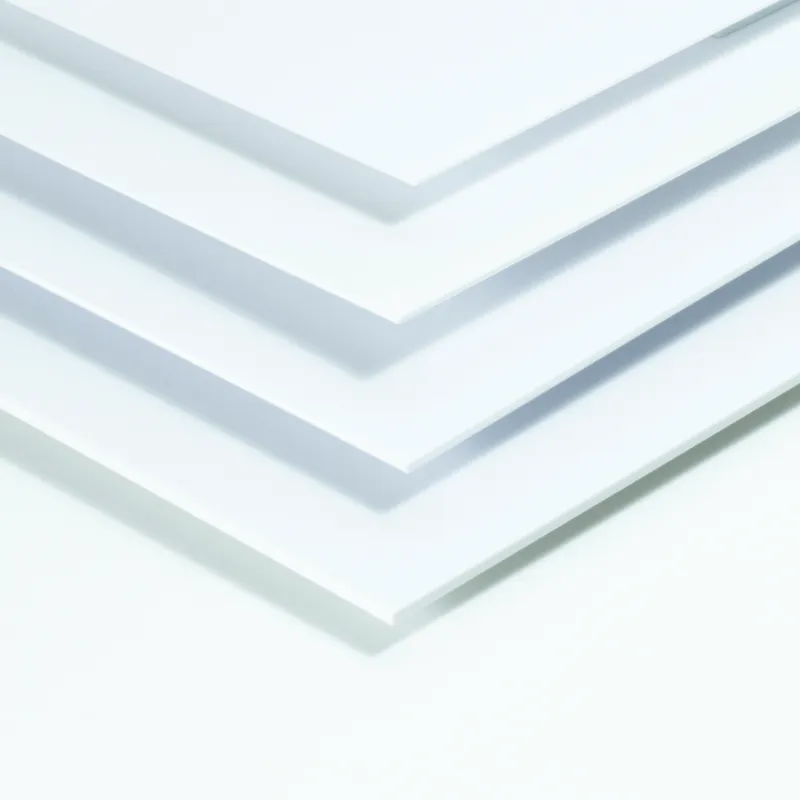
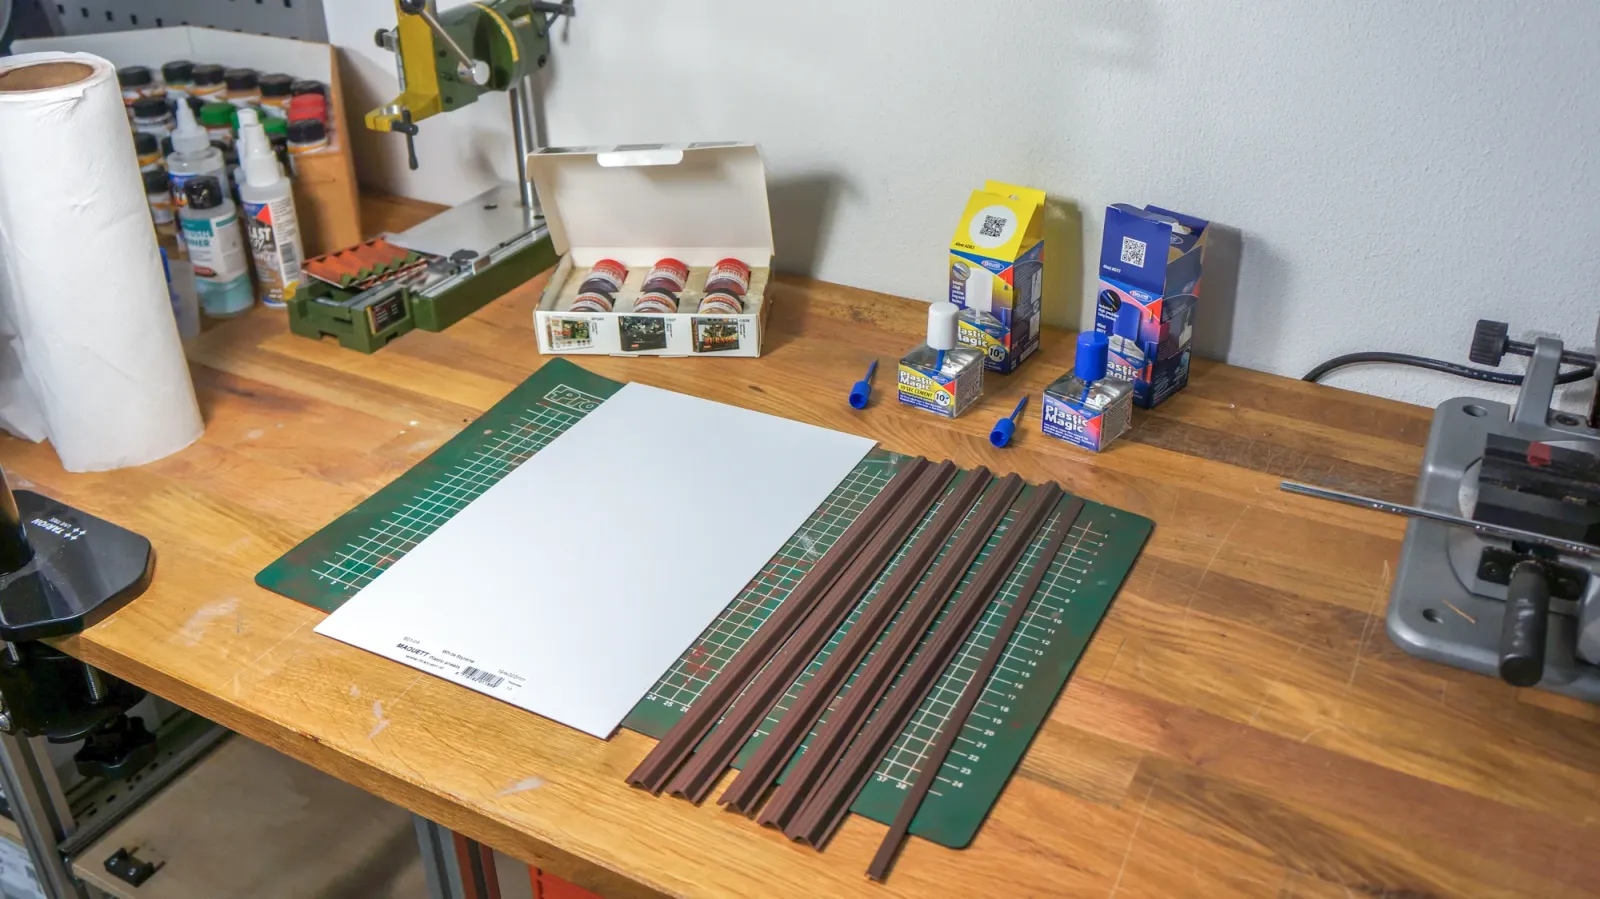
Make sure you have all the necessary materials to hand. The products used are listed below.
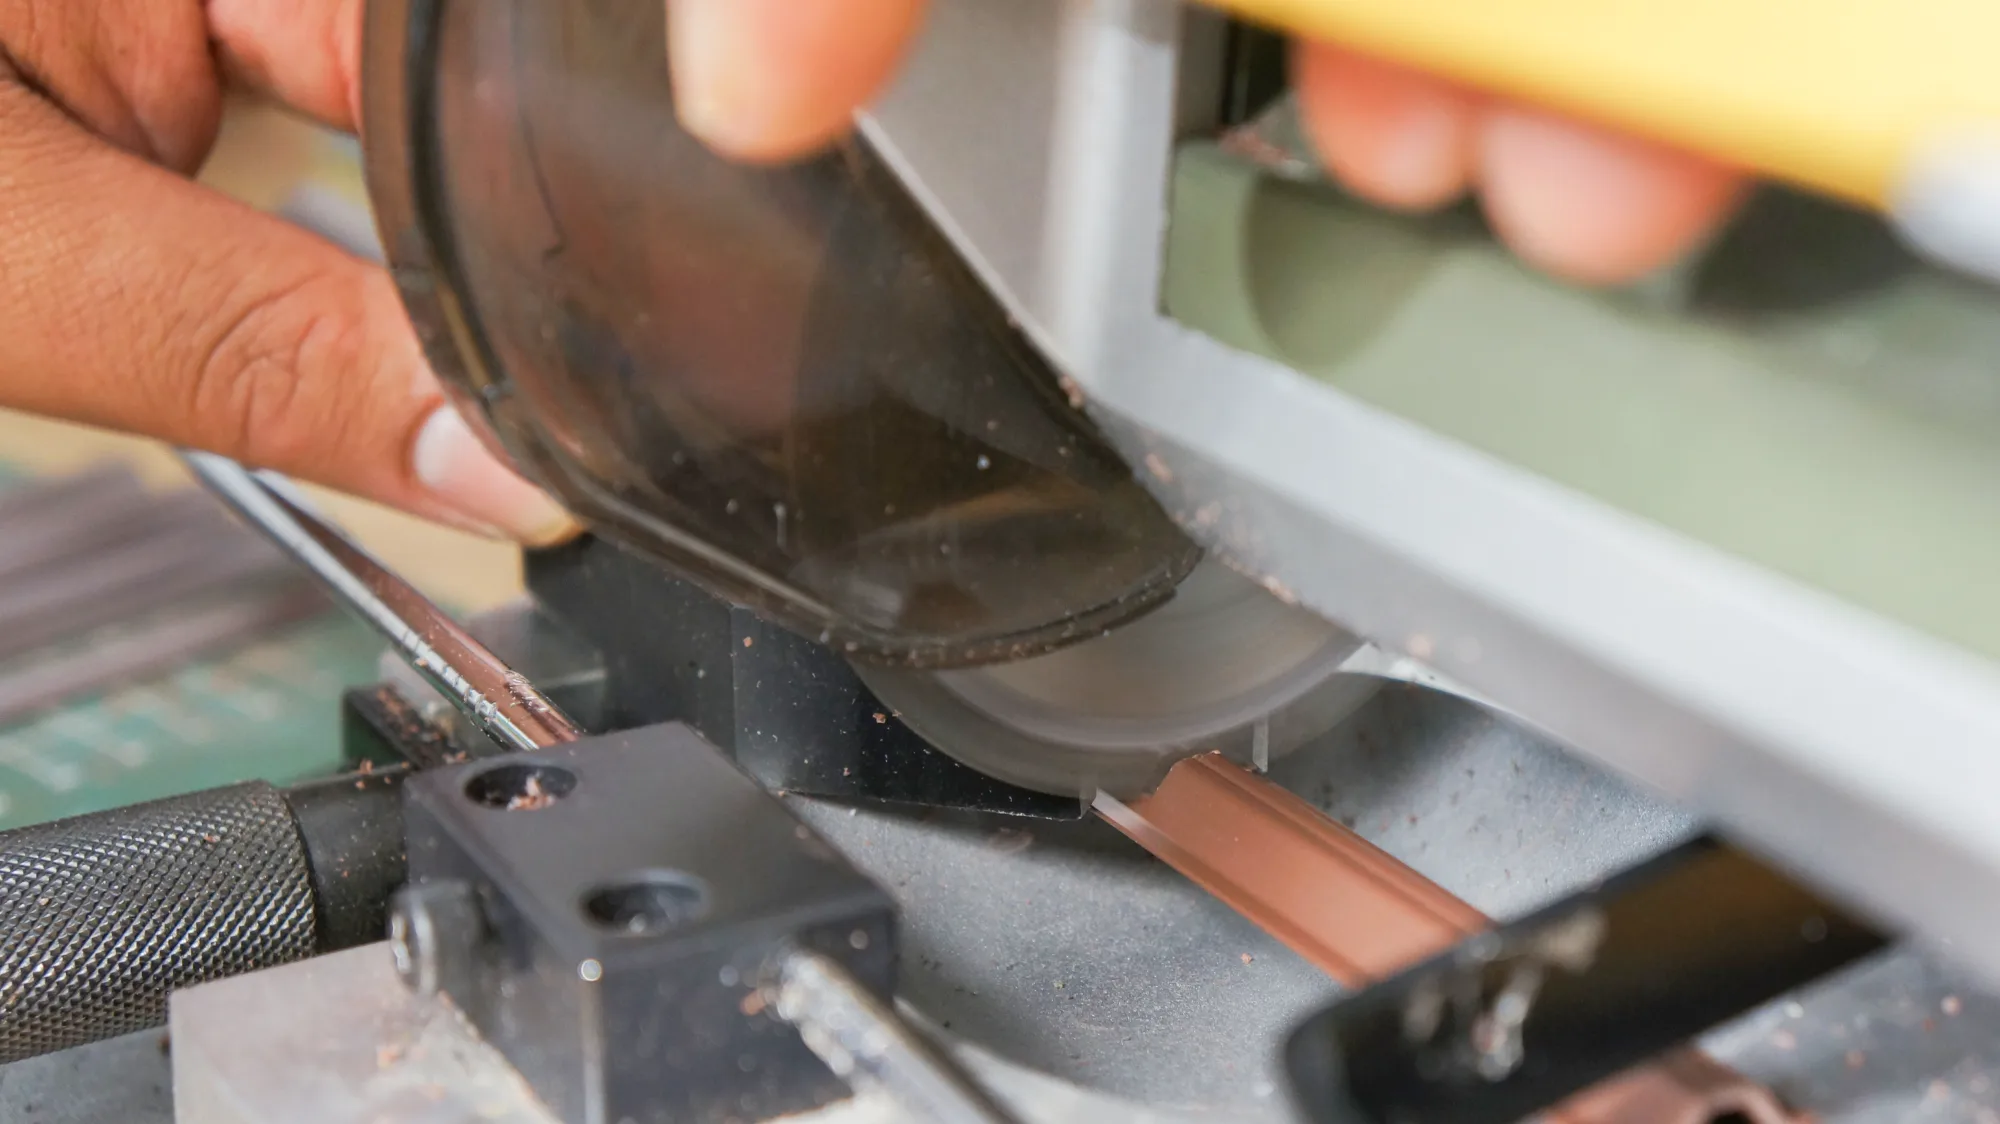
Cut all the sheet pile profiles to exactly the same length. We use a Proxxon cross-cut saw for this.
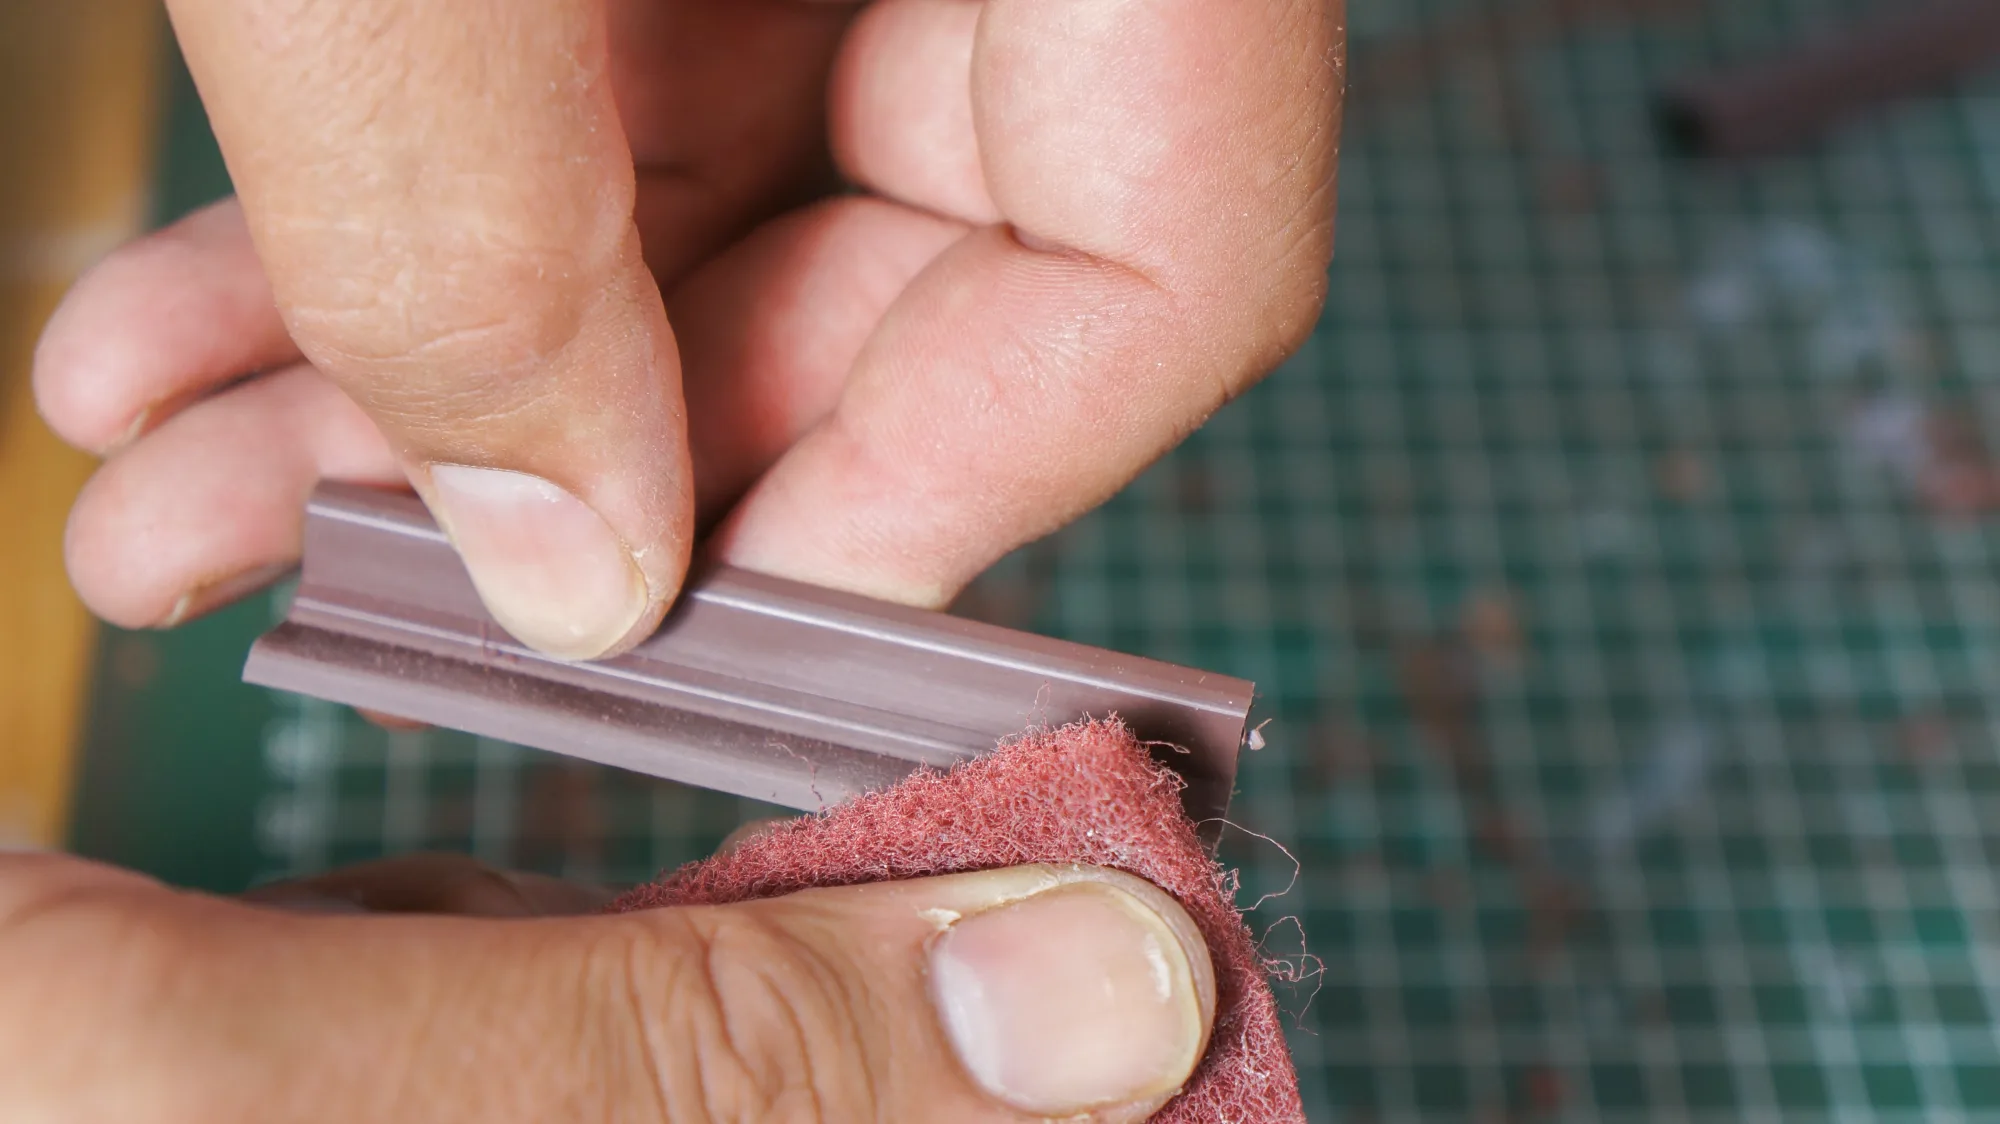
Sand the sheet piles until the surface is matt rather than glossy. Also sand the cut edges, as there may still be small burrs there after cutting.
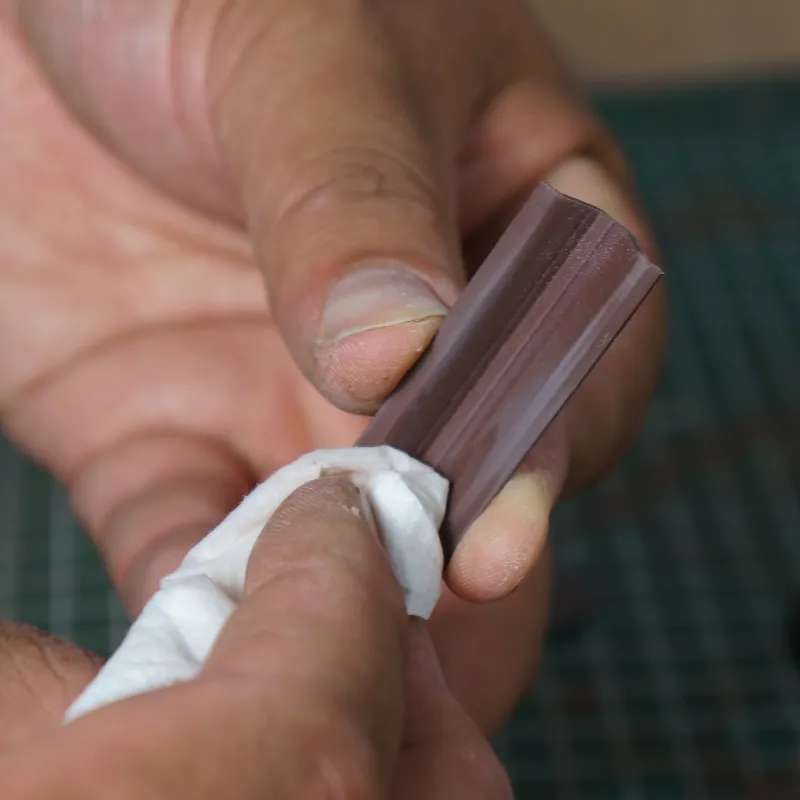
Using a cloth, apply a small amount of degreaser suitable for plastic and metal, and use this to degrease the sheet piles. This ensures better adhesion of the adhesive.
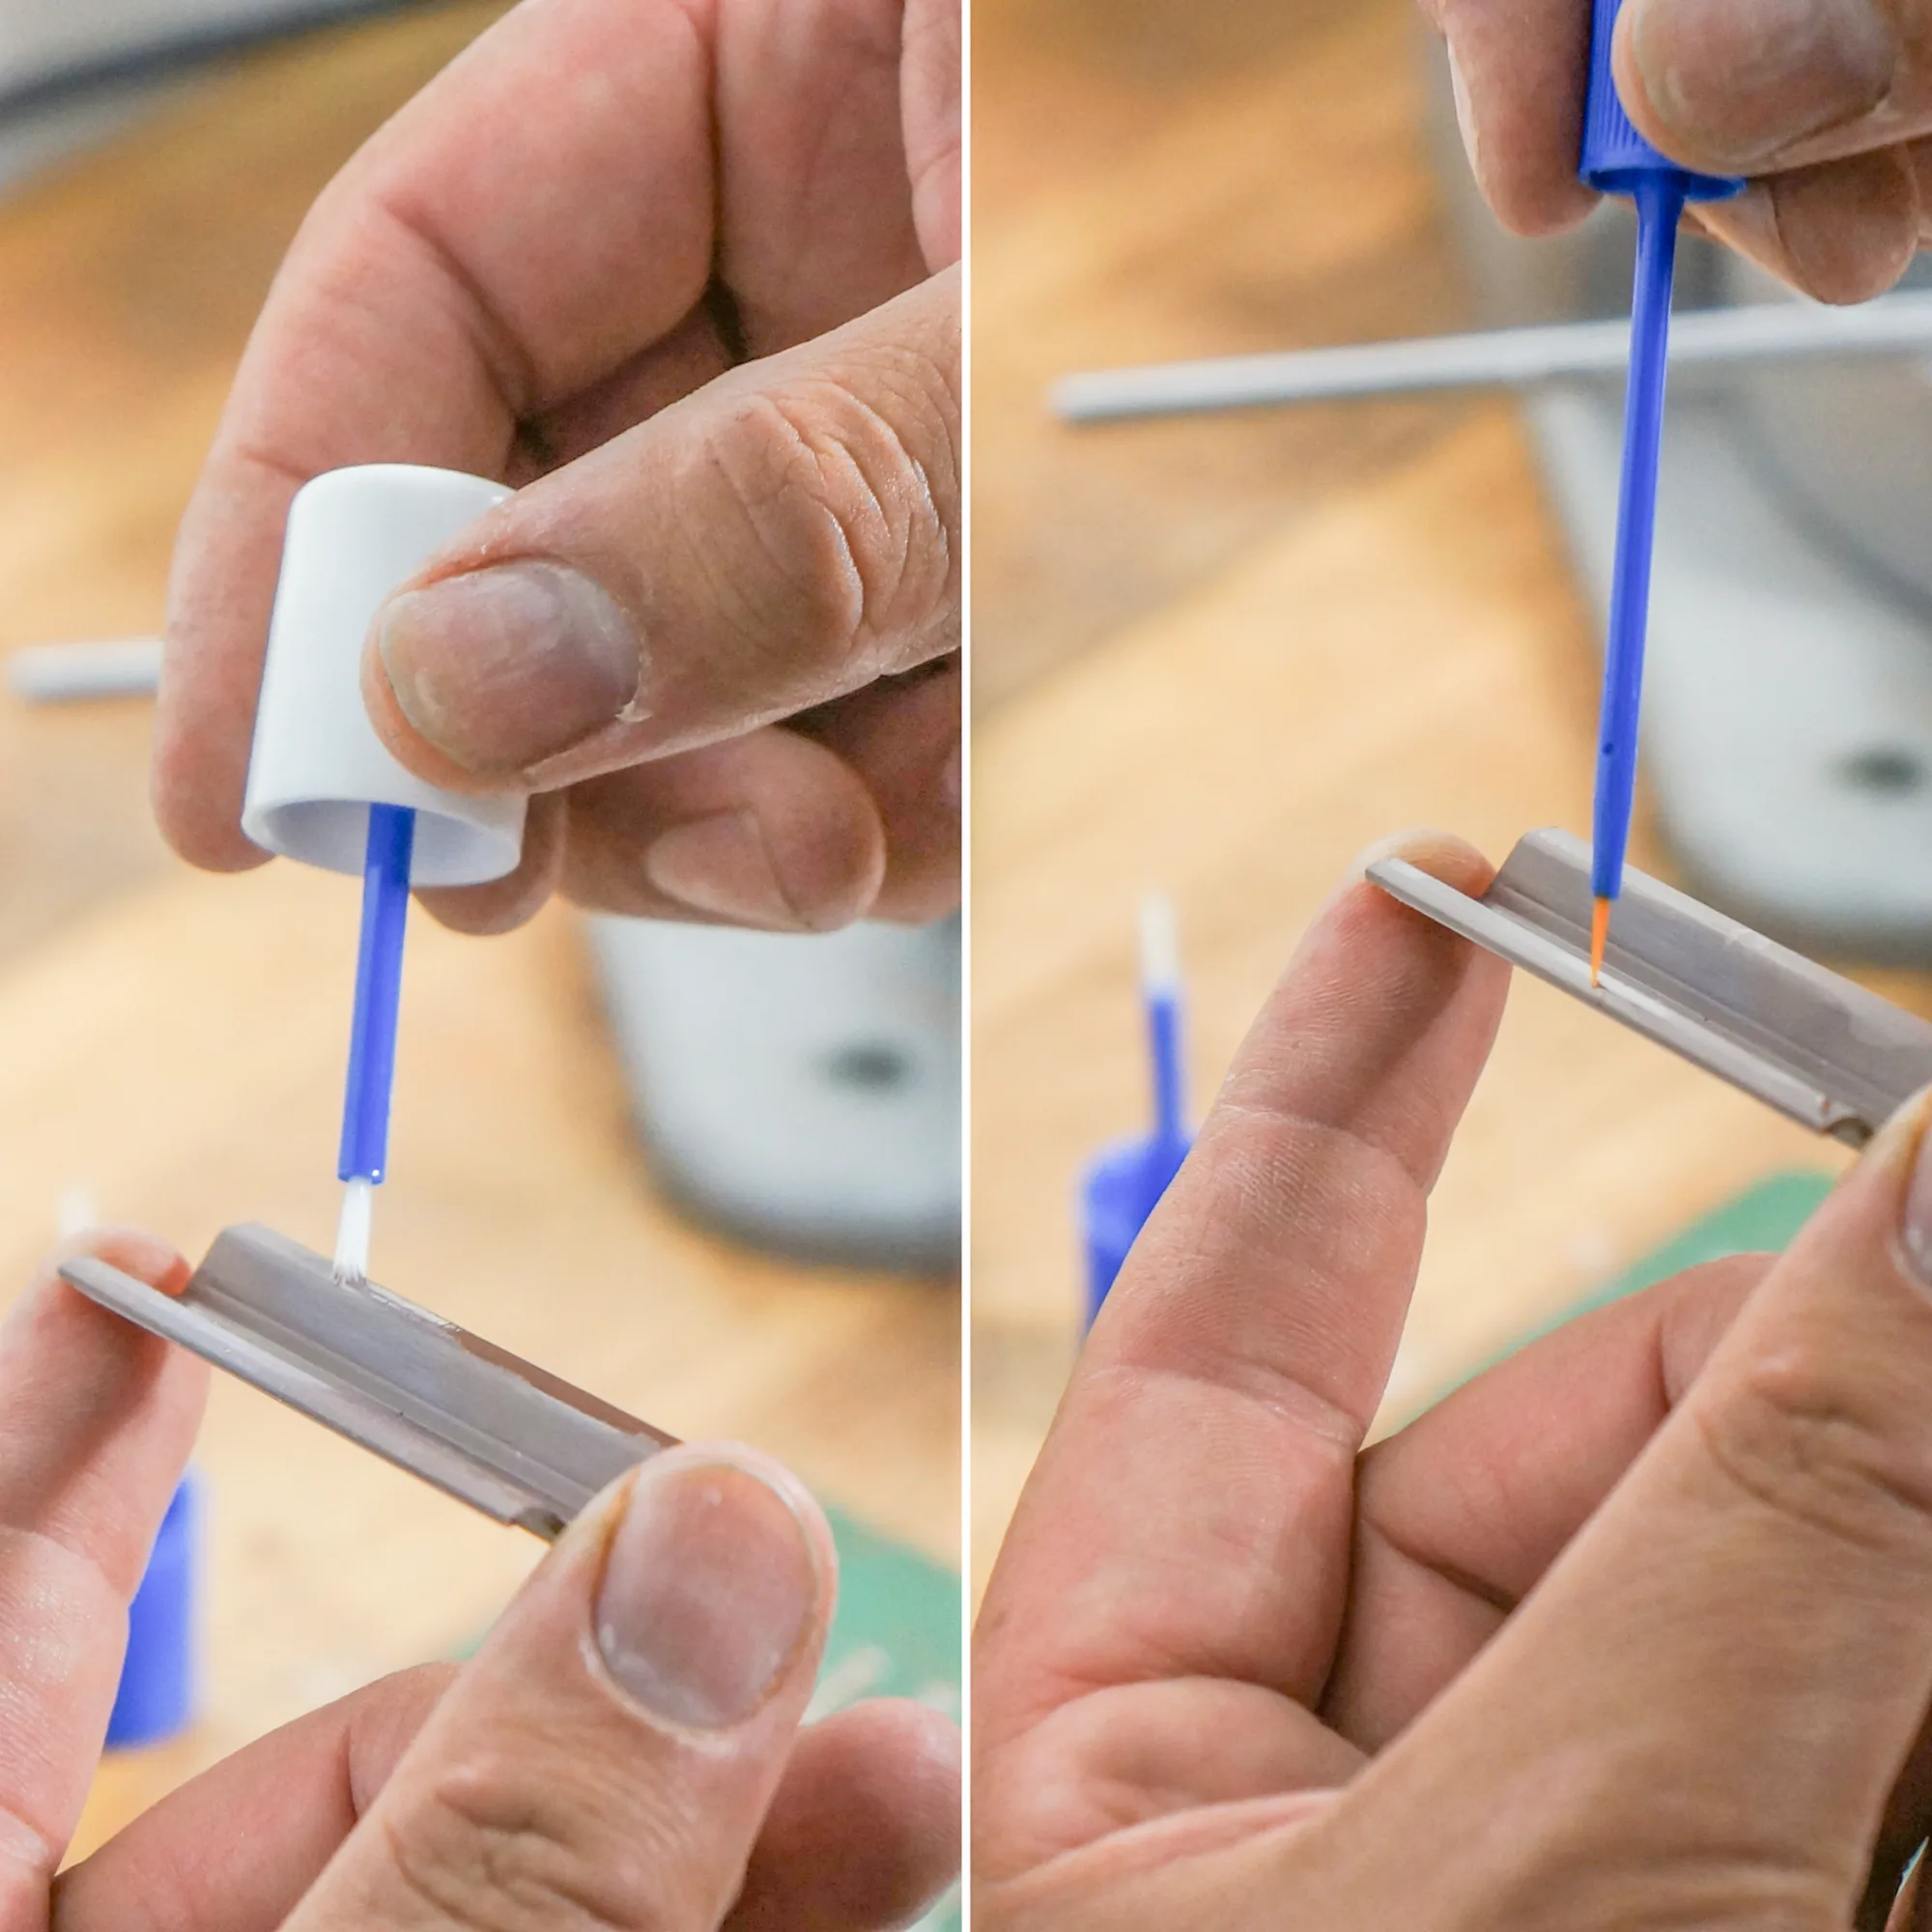
To do this, we combine two types of adhesive (see products below). First, apply a thin layer of Deluxe Plastic Magic 10 sec. AD83 to the sheet piling. Then apply a little Deluxe Plastic Magic AD77 in a few places. This combination ensures that the sheet pile bonds immediately to the plastic sheet, whilst still allowing you a short adjustment period to make any necessary corrections.
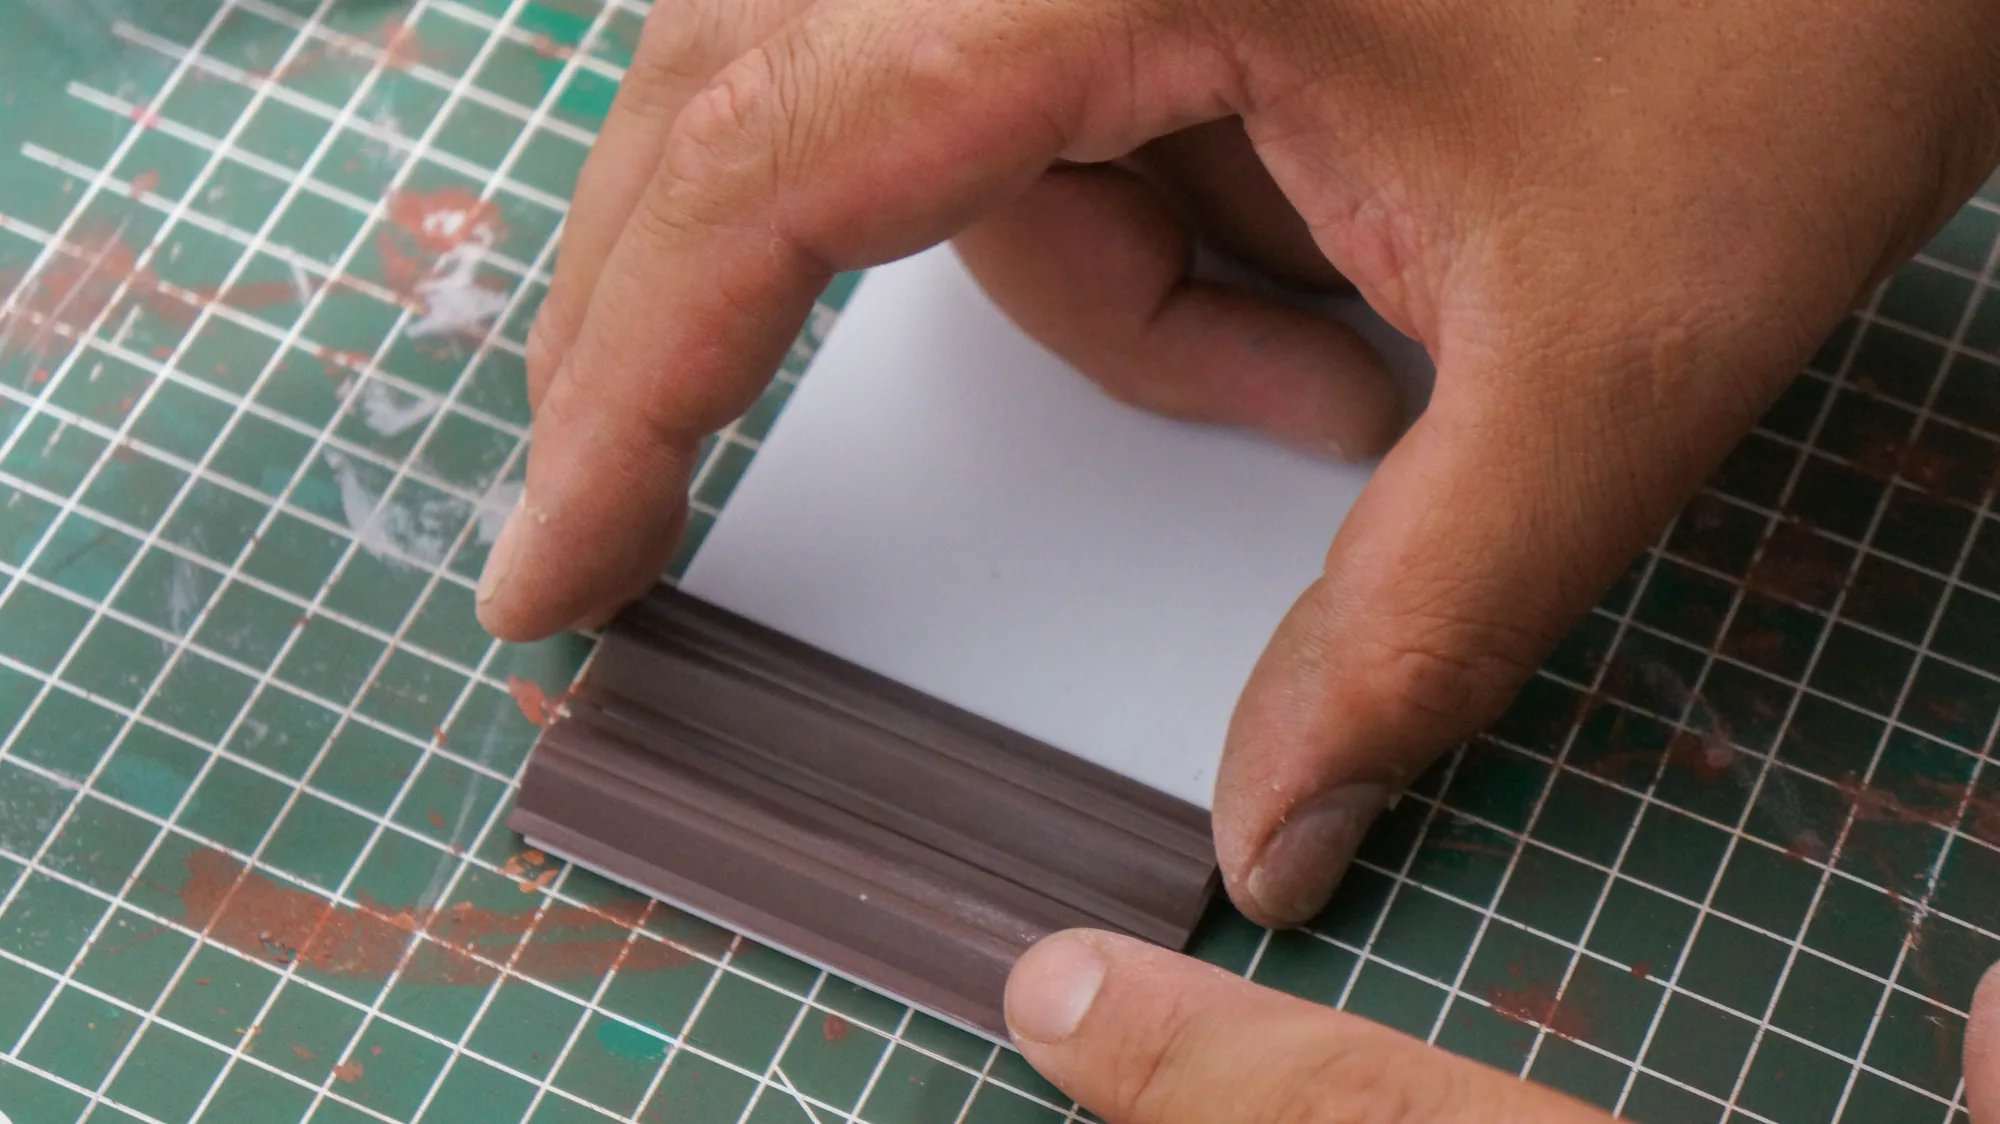
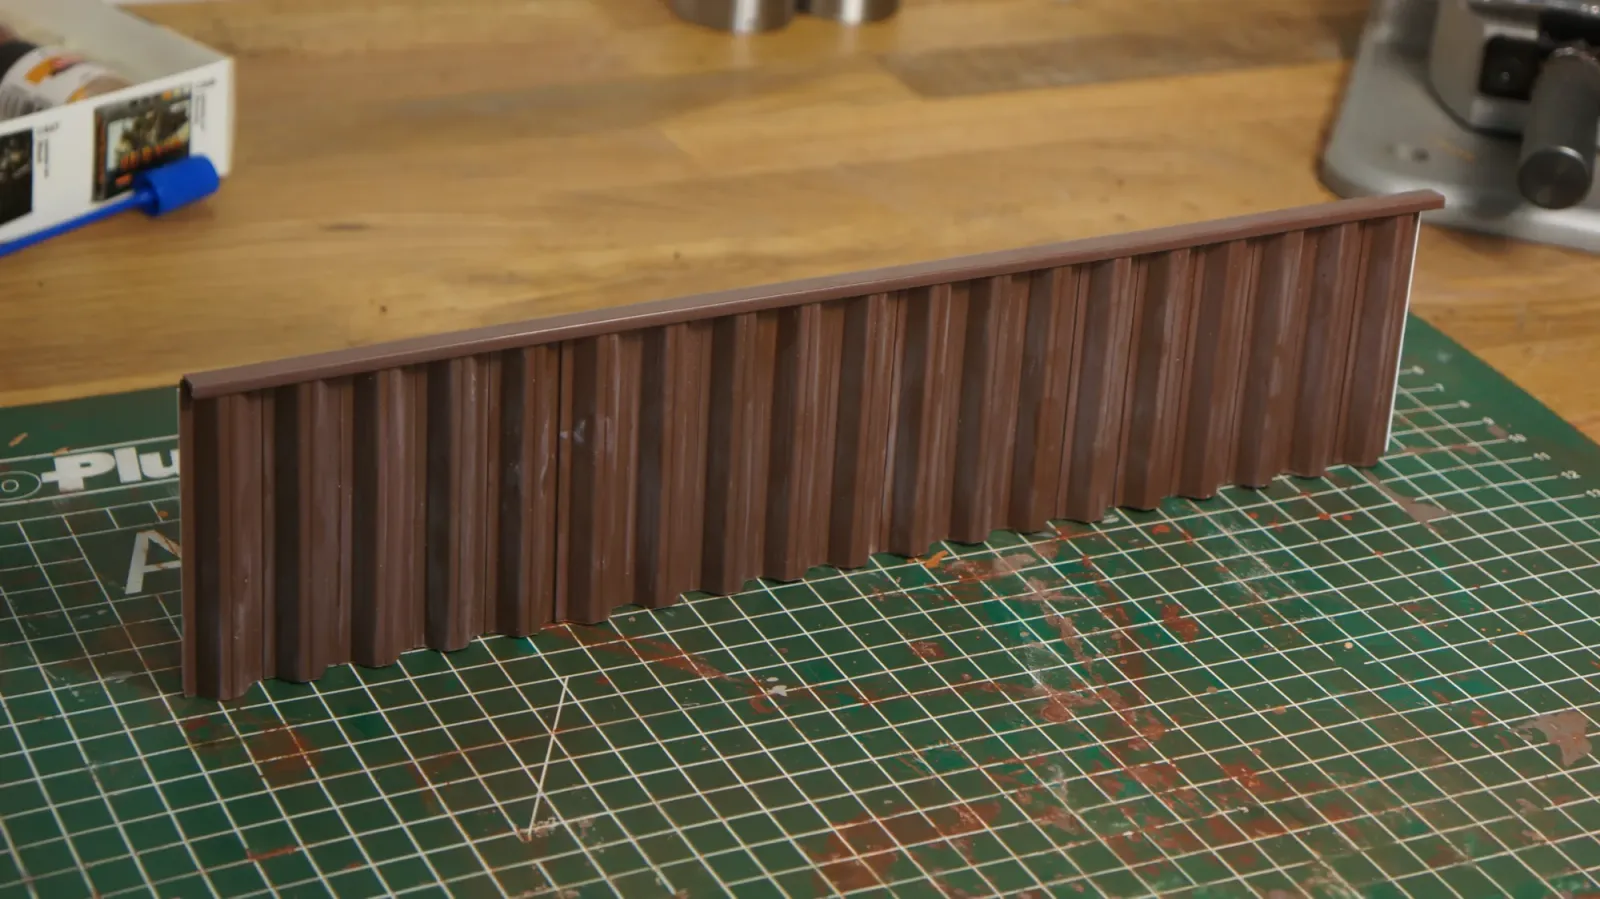
Position the sheet piles neatly side by side and ensure that the heights of the profiles are exactly the same.
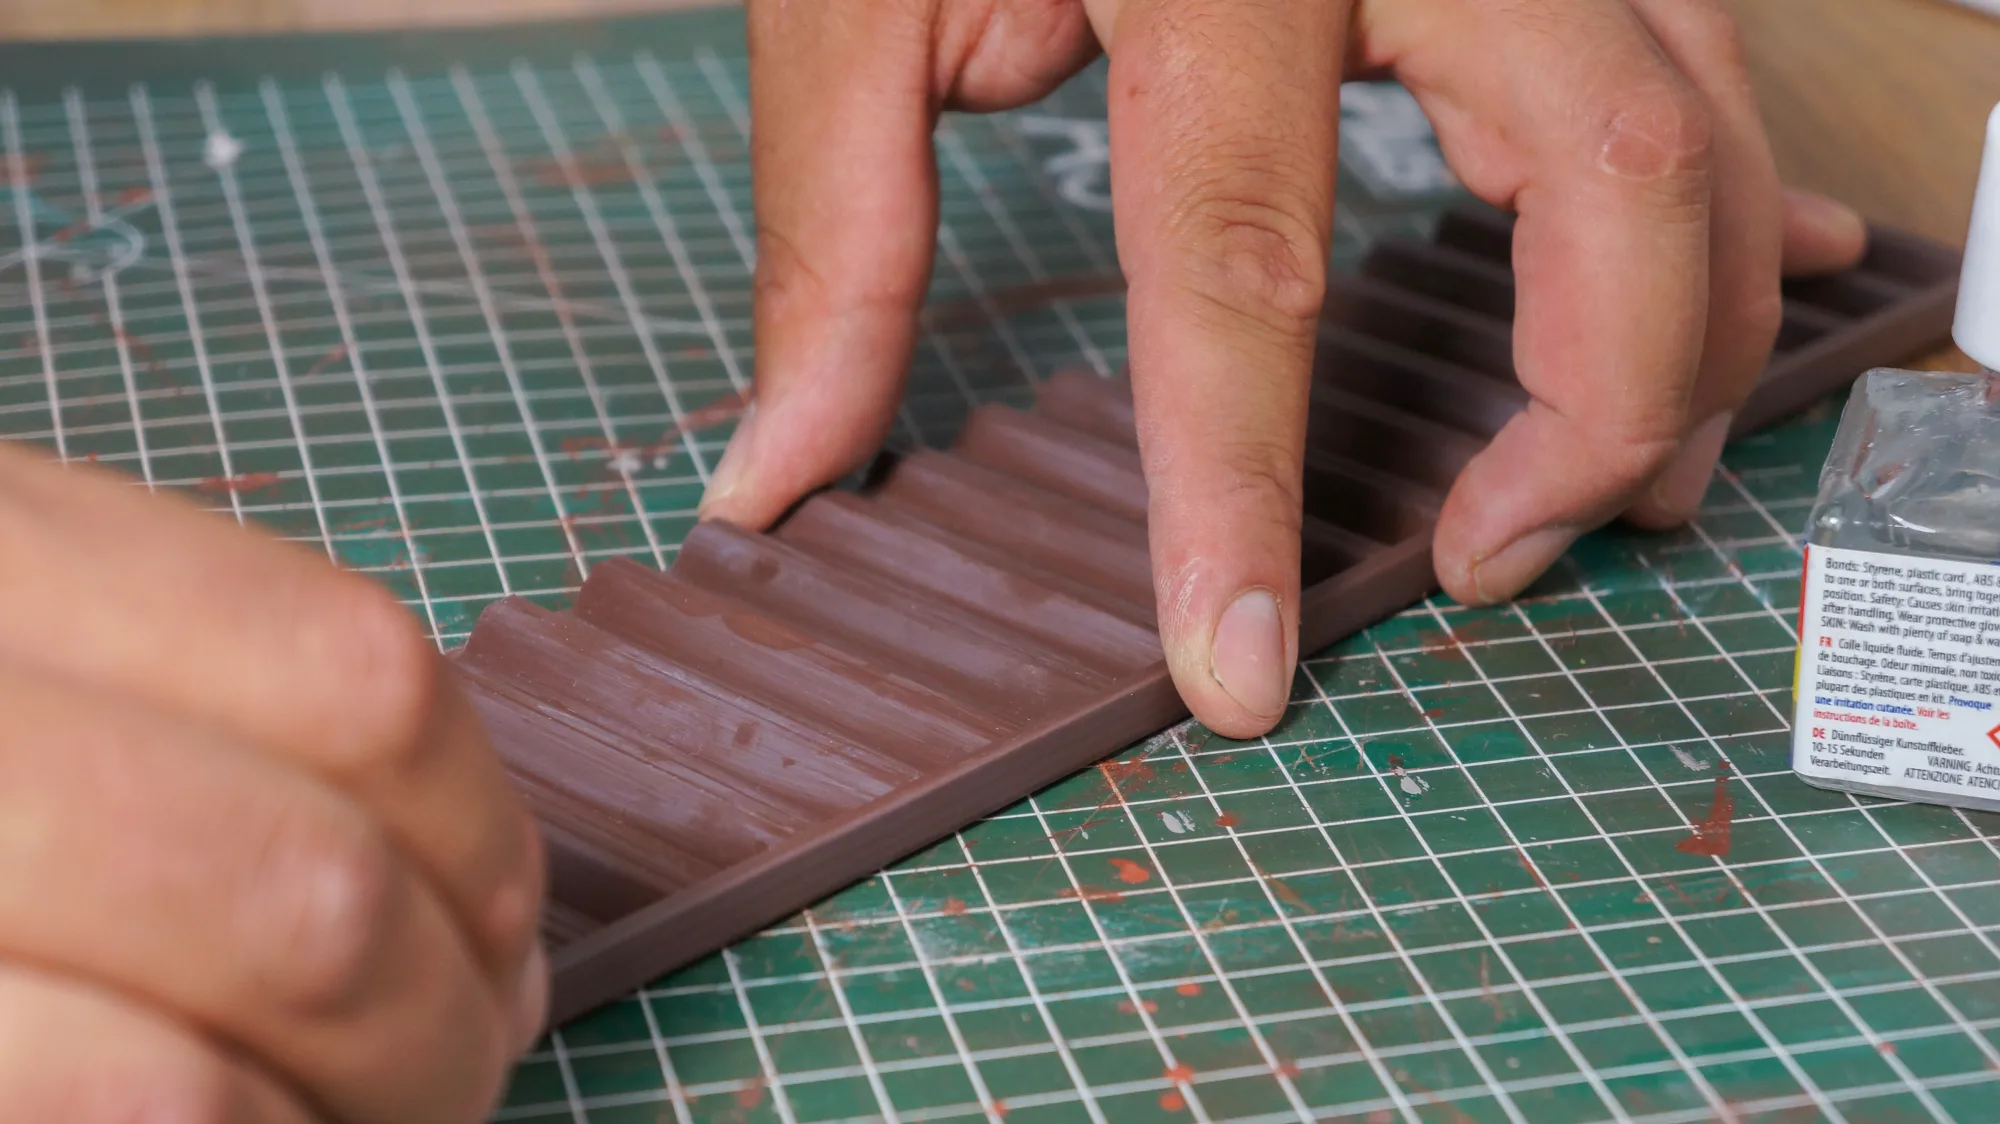
Sand, degrease and glue the corner profile in the same way as described above, and press it firmly into place. The corner profile, cut to the correct size, is supplied with the sheet pile profiles.
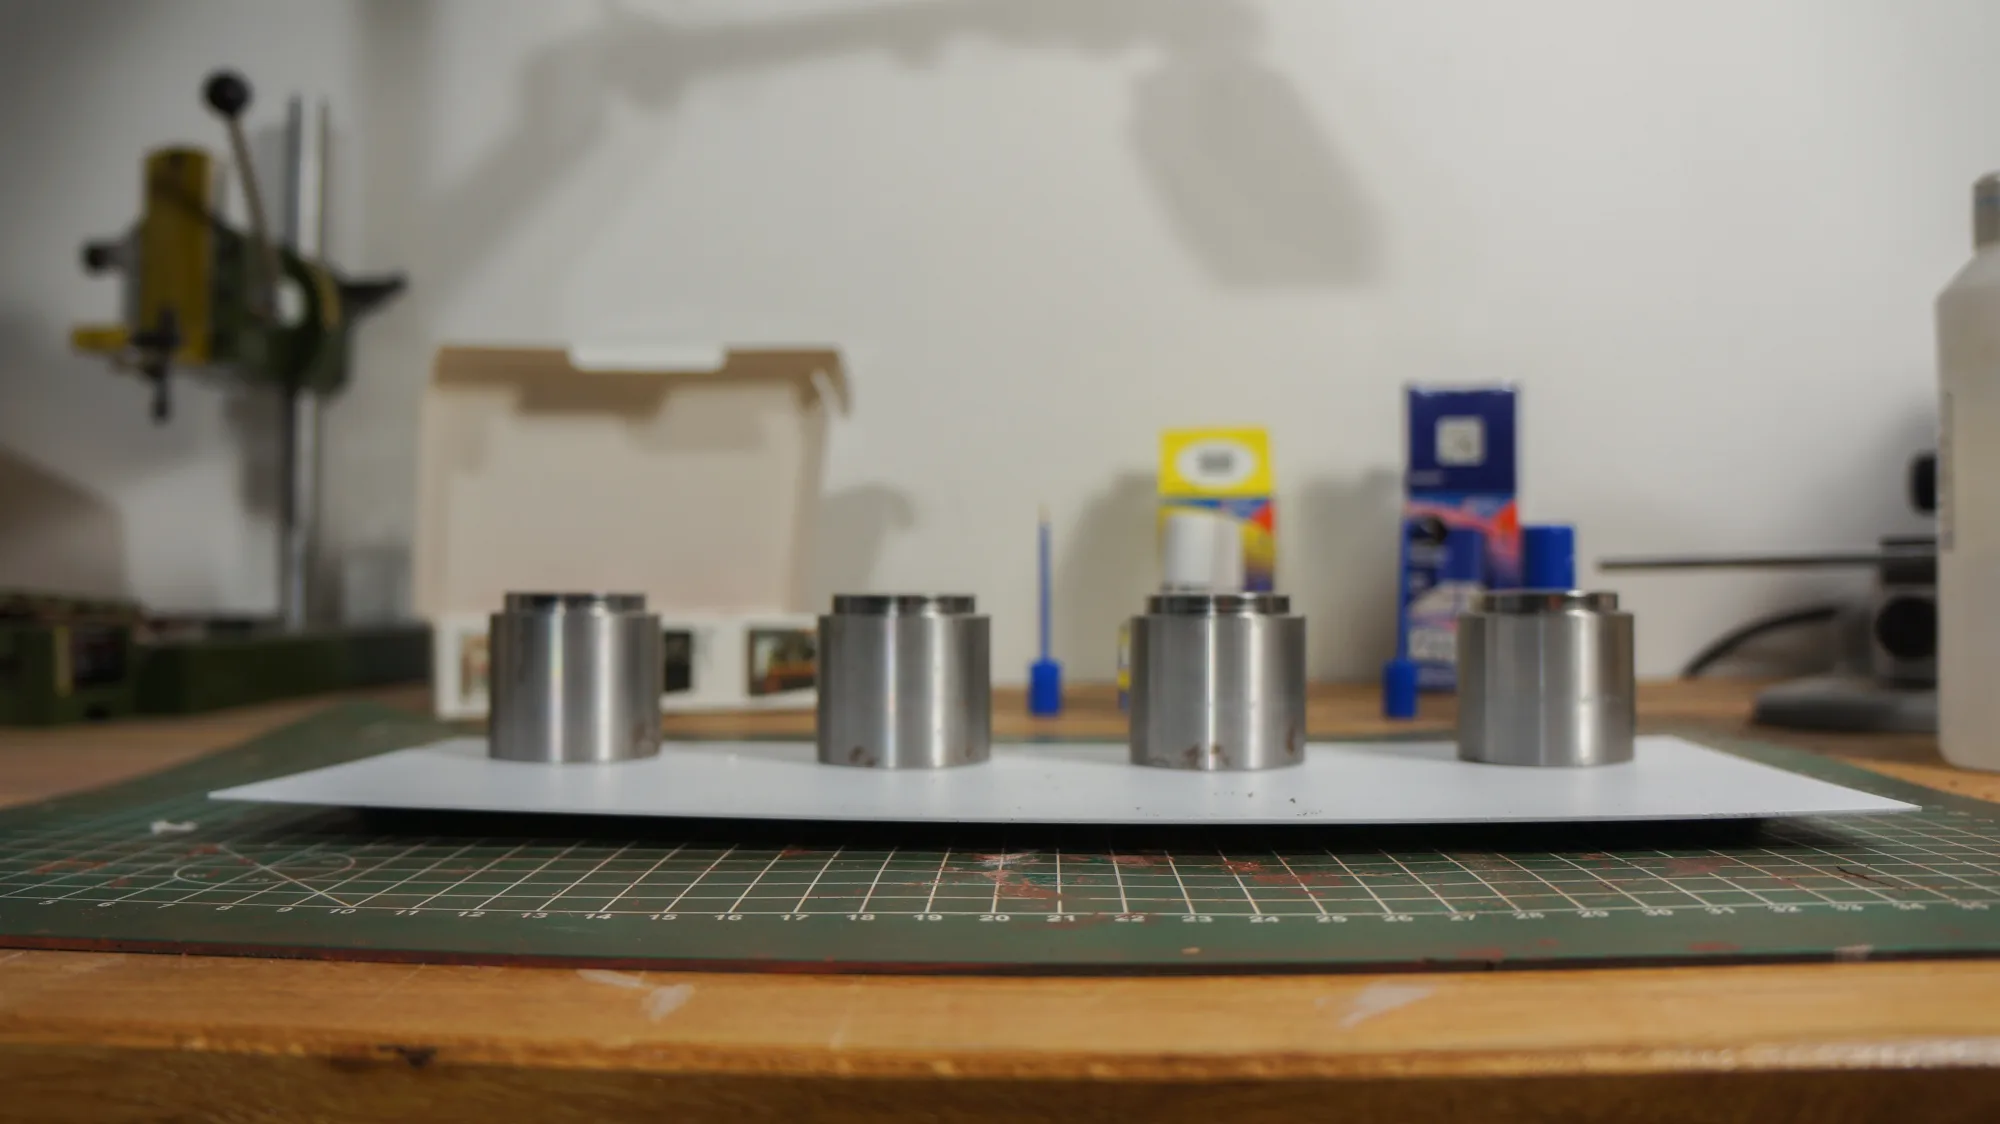
Place a flat, lightweight object on top of the sheet piling to ensure everything is firmly pressed down and bonds together. Leave it to dry overnight, after which your harbour quay will be ready.
Everything you need for this tip, ready to order.